
 OPS
OPS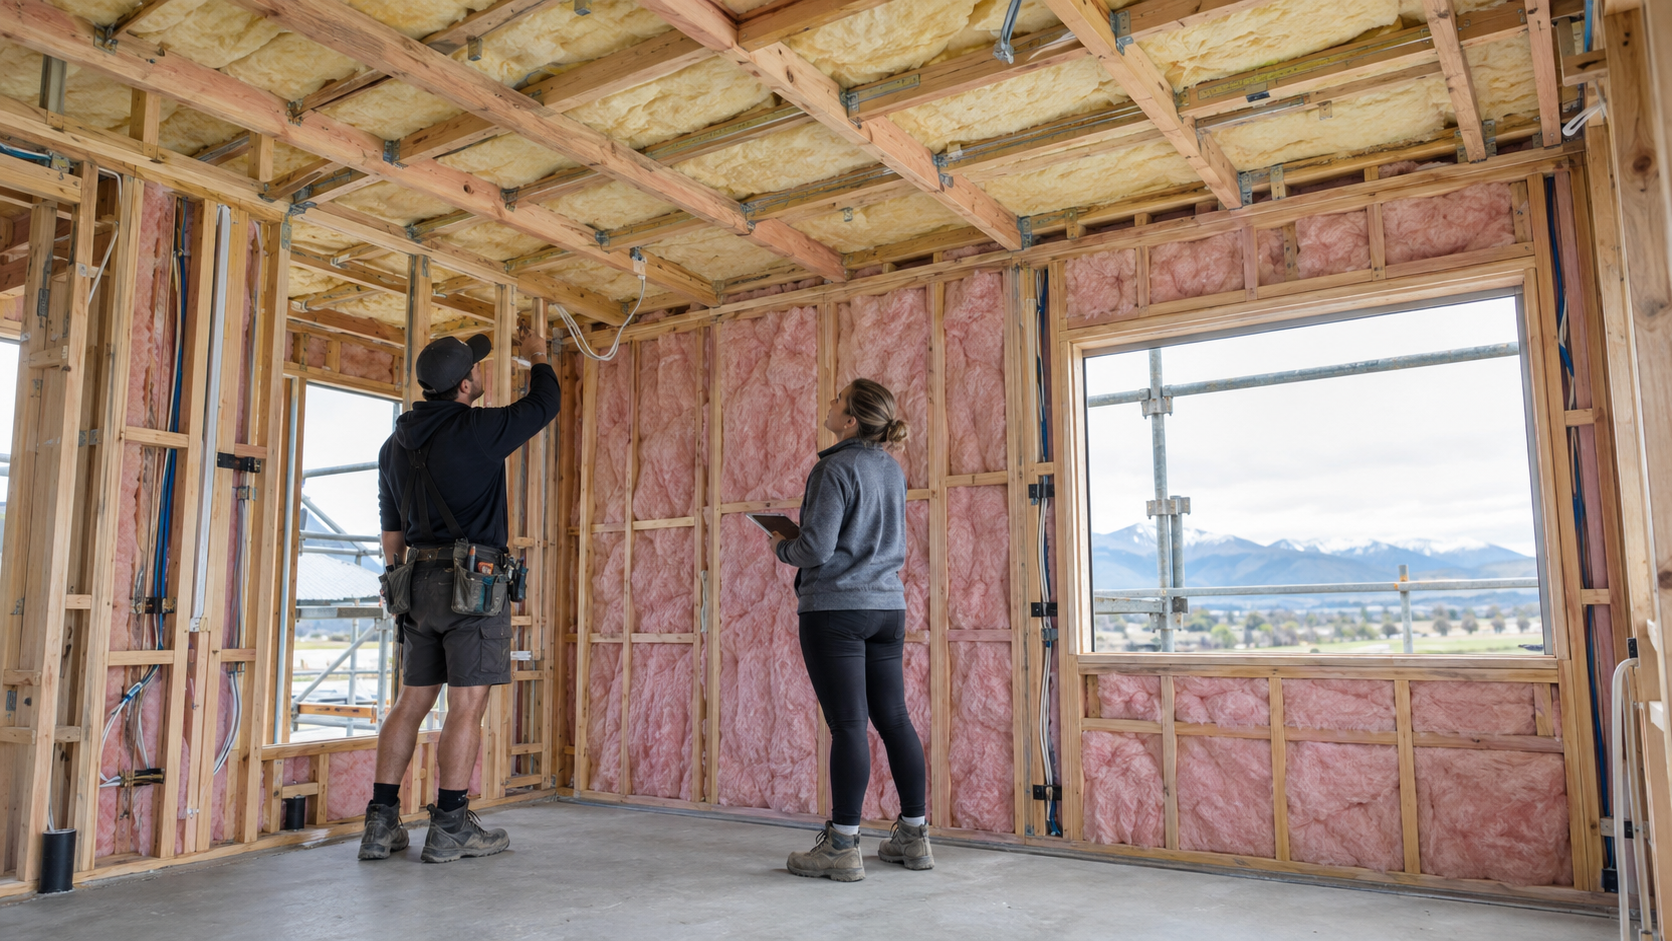
A new build insulation checklist before the walls go on
Once plasterboard is fixed, checking or changing insulation becomes much harder. The best time to resolve product choices, difficult junctions and acoustic priorities is while the framing is visible. We use the following questions with owners and builders to make sure the installed work matches the design and the way the home will be used.
1. Confirm the thermal design and who owns each decision
Ask the designer or builder for the consented H1 energy-efficiency documentation and the required construction R-values for the roof, walls and floor. Confirm the applicable climate zone and compliance pathway, then check that the proposed insulation products and build-ups match that design. Product R-values on packs are not the same as the R-value of a whole wall or roof. If materials change, have the designer confirm the effect before installation rather than assuming a similar-looking batt is equivalent.
New Zealand's H1 compliance documents are in a transition period during 2026, so use the edition accepted for your consent application and check current MBIE guidance. See our plain-English R-value guide.
2. Design the ceiling before access becomes awkward
Identify whether the house has an accessible roof space, a skillion ceiling or a mix of both. Low-pitch roofs, eaves and roof-to-wall junctions can be tight. Check available depth, ventilation paths, downlights, extract ducts, roof windows and other penetrations before the installer arrives. The selected system should be capable of continuous coverage without crushing the insulation or blocking a required space. A section drawing is especially useful where different ceiling types meet.
3. Check external walls and service routes
Confirm the wall construction, underlay, framing depth and specified insulation. Plan plumbing and electrical routes so trades do not leave large voids or compress batts behind cables and pipes. Make sure every accessible bay, including narrow pieces beside windows and doors, has an installation detail. Any wet framing or cladding concern needs to be resolved before it is hidden by insulation and lining.
4. Choose acoustic areas deliberately
Thermal requirements usually focus on the building envelope. Internal acoustic insulation is a separate comfort choice. Decide now whether you want extra noise control around bedrooms, bathrooms, laundries, home offices or a media room. Name the rooms on the plan and agree on the full wall or ceiling system, because insulation alone does not determine the finished sound performance. Services, doors and penetrations also affect sound transfer. Our new-build team can discuss thermal and acoustic scopes together.
5. Inspect before linings cover the work
- Check the installed products against the specification and each area's intended use.
- Look for full coverage, firm fit and no avoidable gaps or compression.
- Check difficult corners, perimeter edges and penetrations.
- Confirm electrical and fire clearances with the relevant trades and product instructions.
- Photograph each wall and ceiling area before it is closed, including product labels where visible.
- Record any substitutions or incomplete sections and agree who will correct them.
Inspection timing matters. Coordinate it with the builder, designer and any required council inspections so that changes can be made while the work is still accessible. Keep the installation record with the build documents for future owners and trades.
One useful pre-lining conversation
Bring the plans, H1 details, ceiling sections and room-by-room acoustic wishes to the same discussion. Ask: “What is going in each part of the house, who checks it and when?” That short conversation can prevent expensive rework and help the finished home perform as intended. Send your plans to SInsulation through our contact page for a coordinated insulation quote.